Know Your Wall and Your Why
Creating a statement wall starts long before the paint or wallpaper. It begins with intentional choices: choosing the right location, defining your focal point, and making sure the design enhances the function of the space.
Step 1: Choose the Right Wall
Not every wall needs to stand out choose the one that naturally draws attention or would benefit most from one:
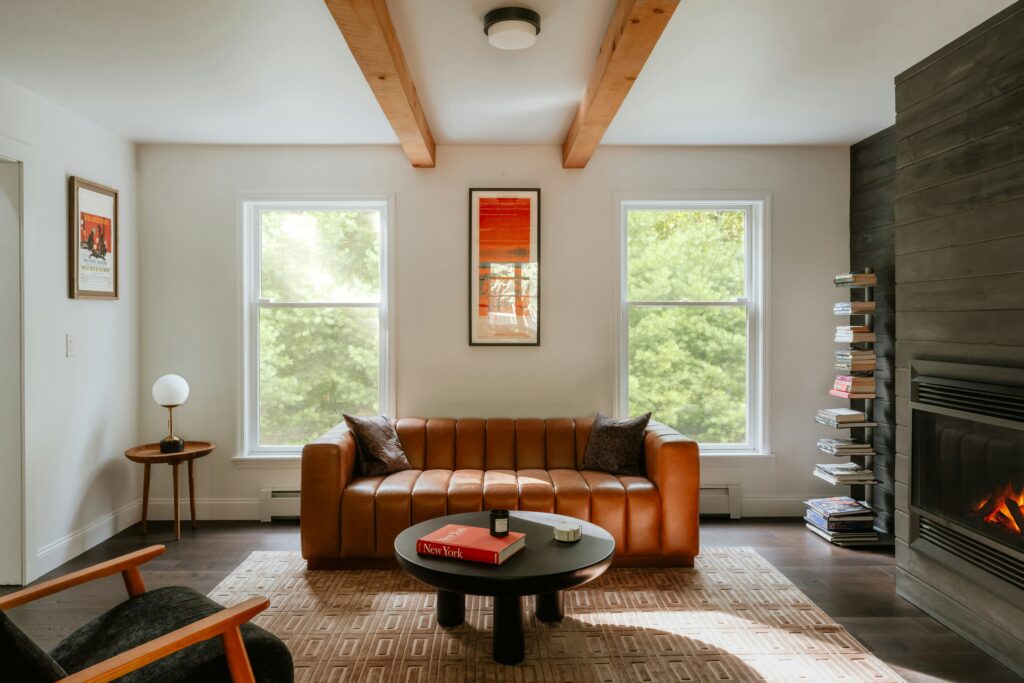
Living Room: Great for showcasing art, shelving, or a bold paint color.
Bedroom: Consider the wall behind the bed as a visual anchor.
Entryway: Makes a memorable first impression with minimal real estate.
Look for walls that are uninterrupted by windows or doors for the biggest impact.
Step 2: Define the Focal Point
What’s the story your wall wants to tell? Your focal point determines the direction of your design.
Art: A large piece or gallery grid can center the wall visually.
Color: A vibrant hue or color block demands attention without clutter.
Texture: Materials like wood slats, brick, or fabric layers make the wall feel dynamic.
Shelving: Floating shelves can balance beauty and function, especially in smaller spaces.
Decide early so all design choices support that feature.
Step 3: Align Style with Function
A statement wall shouldn’t disrupt daily life it should blend flair with purpose.
In a high traffic zone? Keep materials durable and easy to clean.
Need flexibility? Choose solutions that can be updated seasonally.
Love minimalism? Keep it bold but simple one strong feature may be enough.
Prioritize designs that resonate with your lifestyle and enhance how the space is used.
Let your statement wall be just that: a true statement intentional, useful, and completely you.
Paint: The Small Investment with Big Impact
Paint is the easiest path to a striking statement wall and it doesn’t cost much. Use color blocking to break up the space and guide the eye. A bold vertical band behind a desk or bedframe can make a space feel intentional without trying too hard. Stick to two or three well balanced hues max; too many and you lose the focus.
Then there’s the finish. Matte paint gives a soft, modern look that masks imperfections and keeps the color looking deep. Gloss, on the other hand, bounces light and adds drama best for high contrast or smaller accent areas. Just know: gloss highlights texture, which includes any bumps or brush marks you haven’t smoothed out properly.
If you want clean color edges (and you do), painter’s tape is key. Press edges down firmly and paint away from the tape line on the last coat to avoid bleeding. Don’t wait too long to peel remove while the paint’s still a bit wet for the cleanest break. Do this right, and even a $30 gallon job can look custom.
Peel and Stick Wallpaper Hacks
Peel and stick wallpaper is the MVP of statement walls zero commitment, all impact. For renters or indecisive decorators, it lets you go bold without losing your security deposit. Plus, it’s surprisingly affordable when you know where to look.
Start by browsing budget friendly spots like Target, Society6, Wayfair, or even Amazon. Independent sellers on Etsy often offer unique designs if you’re after something that doesn’t scream mass produced. Pro tip: Sort by square footage to see what offers the best bang for your buck.
Once you’ve picked your print, getting it on the wall cleanly is all about prep and patience. Wipe the wall down first dust ruins adhesion. Measure twice, cut once. And when applying, start from the top and peel in sections, smoothing with a squeegee or a plastic card as you go to keep bubbles out. Don’t rush it. Tension and alignment matter more than speed here. If it’s crooked, gently pull it back and reset.
It’s one of those low lift, high return projects that can change a whole space in about an hour.
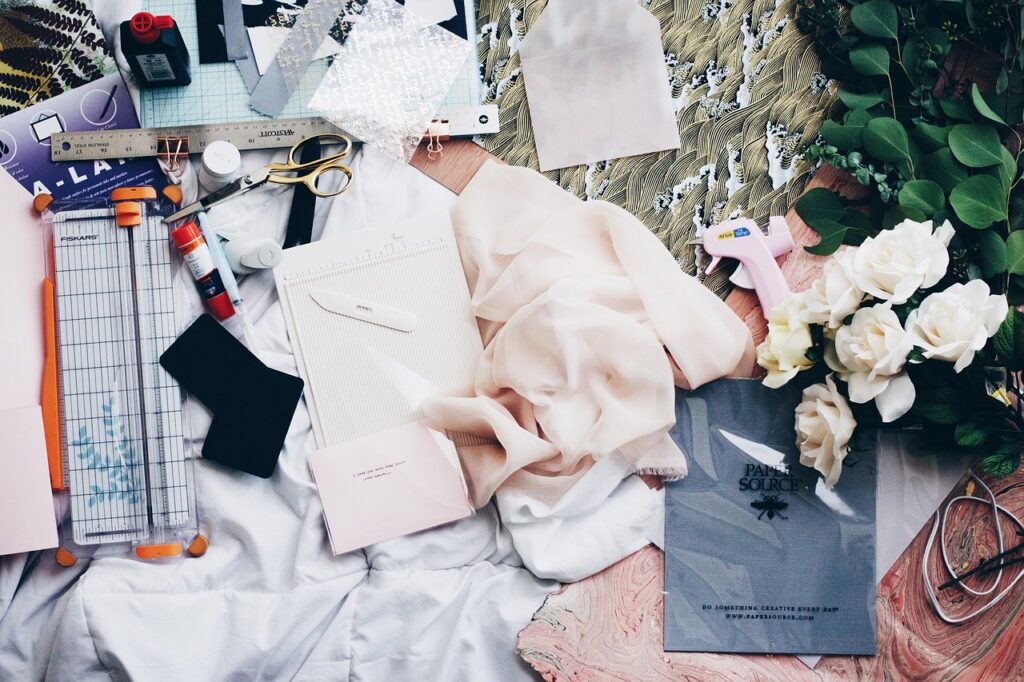
DIY Wall Art that Doesn’t Look DIY

Art doesn’t have to cost a fortune or look like it did. A statement wall can be built with pieces that are personal, bold, and easy to make.
Start by framing oversized prints or fabric swatches. They’re cheap, customizable, and make an impact from across the room. Go for vintage scarves, abstract textiles, or even wallpaper scraps. A clean black frame can make almost anything look gallery ready.
Next up: painted canvases. You don’t need to channel Picasso. Block out bold geometric shapes, play with stencil art, or try abstract splashes in your room’s color palette. It’s simple, quick, and lets you control the vibe.
If you want real variety, build a gallery wall. Thrift stores and printable art sites are goldmines. Mix illustration, photography, line art whatever fits your taste. Keep the frames cohesive or intentionally mismatched. The trick is to lay it out on the floor first, tweak it until it feels right, then get it on the wall.
Making your own wall art means you never have to settle for generic decor, and you’ll end up with something no one else has.
Easy Texture Tricks
If your walls feel flat, adding texture is a fast, low cost fix that makes a big visual difference. Start with 3D wall panels or peel and stick decals they’re renter friendly, easy to swap out, and instantly add dimension without a full remodel.
Painted wood trim or flat batten boards are another smart move. They give structure to the wall and work well in living rooms, hallways, or even kid spaces. Choose a contrasting paint color if you want the shapes to pop, or go tone on tone for a more subtle, architectural vibe.
Don’t ignore soft textures either. Big walls benefit from fabric hangings, tapestries, or woven pieces. These add warmth and catch light differently than paint or paneling. Try layering sizes or overlapping materials to give a space that cozy, lived in edge.
Want more ideas? You’ll find them here: add texture easily.
Lighting as a Design Element
Good lighting can turn a basic wall into a highlight reel. LED strip lights are cheap, flexible, and easy to install perfect for outlining shelves, backlighting a gallery wall, or tracing lines around panels. Plug in sconces are another solid pick. No rewiring required, and they bring a little structure and depth without sucking up floor space.
Next, think about the feel. Warm light creates a cozy, inviting vibe great for bedrooms and living spaces. Cool light feels cleaner, more modern ideal for bold, minimalist setups. Whatever your mood, match the tone to the color and texture of the wall to keep the look cohesive.
And here’s the real trick: combine texture and lighting. LEDs behind a woven tapestry or sconces over a panel textured wall add shadow and depth. It’s a low cost move that makes everything look a level up. Design isn’t just what you see it’s how you light what you see.
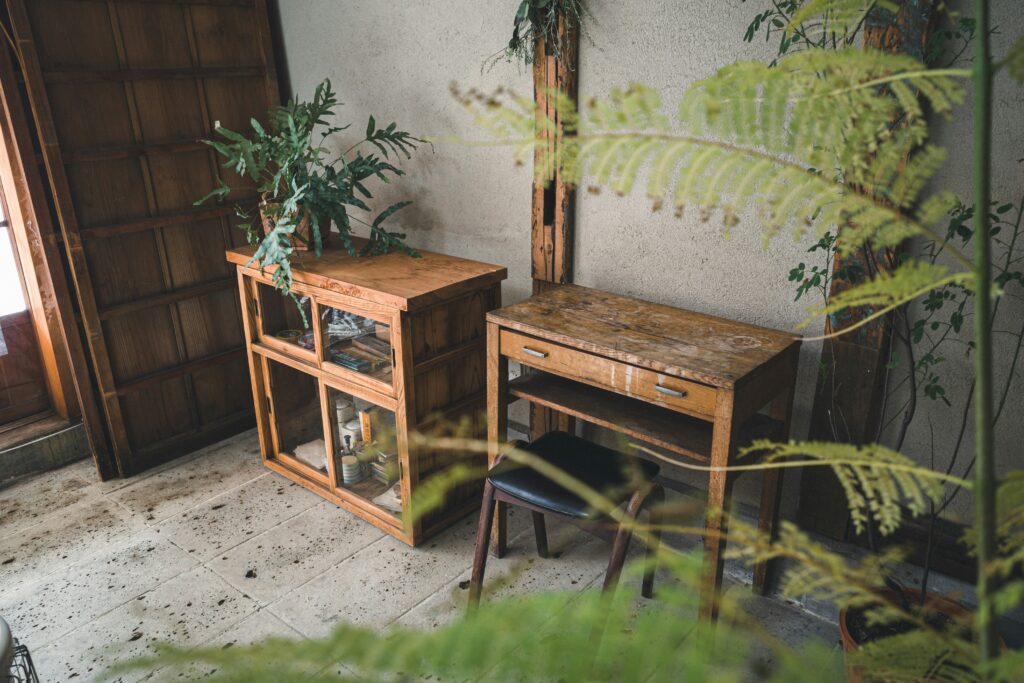
Budget Tips You’ll Actually Use
You don’t need a big spend to make a big impact. Start by hitting up secondhand shops or online marketplaces for mirrors, frames, even leftover fabric. These spots are goldmines for character filled, one off pieces that cost way less than retail.
Before you get your wallet out, take stock of what you already own. Swap artwork between rooms. Repurpose an old curtain into a wall hanging. Sometimes a new context is all it takes to freshen up a space.
Last thing plan first. Sketch out your wall, test layouts on the floor, or use painter’s tape to mock up spacing. Winging it leads to regret (and extra holes in the wall). A little prep keeps projects tight and costs down.
Wrap Up: Make It Yours
A statement wall doesn’t have to cost a fortune. It just needs intention. The goal isn’t to overwhelm the space it’s to anchor it. One strong color, a punchy pattern, a little texture, or meaningful art can do the job if chosen with care. It’s about telling a story that feels personal, not expensive.
The trick is in the mix. Combine color with pattern. Offset clean lines with organic fabrics. Pair bold choices with neutral moments so the wall feels curated, not chaotic. Whether it’s a gallery wall built over time or a single piece that dominates the room, lean into what feels balanced and right for your space.
Need inspiration for adding interest without overspending? Check out these easy ways to add texture and depth to your home decor.
 Ask Stephen Wertzorens how they got into outdoor living solutions and you'll probably get a longer answer than you expected. The short version: Stephen started doing it, got genuinely hooked, and at some point realized they had accumulated enough hard-won knowledge that it would be a waste not to share it. So they started writing.
What makes Stephen worth reading is that they skips the obvious stuff. Nobody needs another surface-level take on Outdoor Living Solutions, Interior Decorating Tips, DIY Home Projects. What readers actually want is the nuance — the part that only becomes clear after you've made a few mistakes and figured out why. That's the territory Stephen operates in. The writing is direct, occasionally blunt, and always built around what's actually true rather than what sounds good in an article. They has little patience for filler, which means they's pieces tend to be denser with real information than the average post on the same subject.
Stephen doesn't write to impress anyone. They writes because they has things to say that they genuinely thinks people should hear. That motivation — basic as it sounds — produces something noticeably different from content written for clicks or word count. Readers pick up on it. The comments on Stephen's work tend to reflect that.
Ask Stephen Wertzorens how they got into outdoor living solutions and you'll probably get a longer answer than you expected. The short version: Stephen started doing it, got genuinely hooked, and at some point realized they had accumulated enough hard-won knowledge that it would be a waste not to share it. So they started writing.
What makes Stephen worth reading is that they skips the obvious stuff. Nobody needs another surface-level take on Outdoor Living Solutions, Interior Decorating Tips, DIY Home Projects. What readers actually want is the nuance — the part that only becomes clear after you've made a few mistakes and figured out why. That's the territory Stephen operates in. The writing is direct, occasionally blunt, and always built around what's actually true rather than what sounds good in an article. They has little patience for filler, which means they's pieces tend to be denser with real information than the average post on the same subject.
Stephen doesn't write to impress anyone. They writes because they has things to say that they genuinely thinks people should hear. That motivation — basic as it sounds — produces something noticeably different from content written for clicks or word count. Readers pick up on it. The comments on Stephen's work tend to reflect that.